
Materials
- 3/4" x 4' x 4' Oak (or other hardwood) Plywood: One Piece for the four Sides
- 1/2" x 24" x 24" Oak Plywood Panel: One piece for the Rounded Top Slats
- 1" x 1" x 4' Solid Oak Material: One piece for the four, Corner Posts
- 3/4" x 16" x 6' Solid Oak Material: One piece for the Bottom Panel, the Top Cover Frame, and Finishing Edges
- 1 1/4" Kreg Screws; 1/4 lb.

- 1 1/2" Wood Screws; 1/8 lb.
- Three Hinges Hinges

- One Hasp
- One Spring-loaded Lid Support or a length of heavy chain
- Sandpaper
- Wood Filler and Glue
- Satin Finish Polyurethane Poly

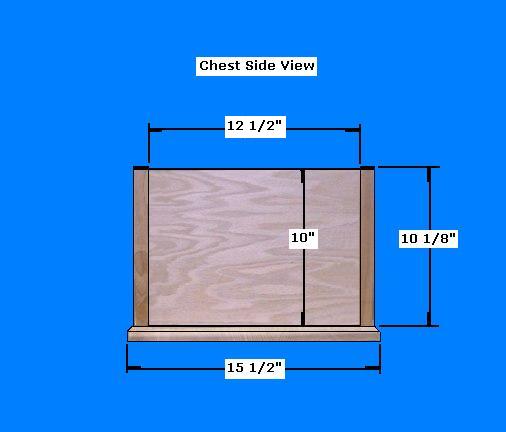
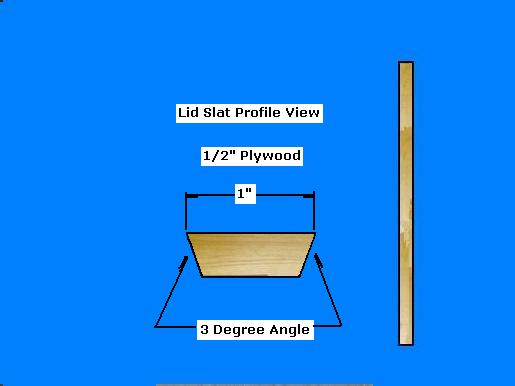
Step 1: Cut the Chest Pieces - Determine the desired size of the Treasure Chest
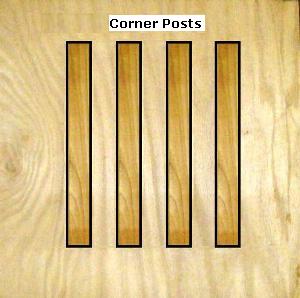
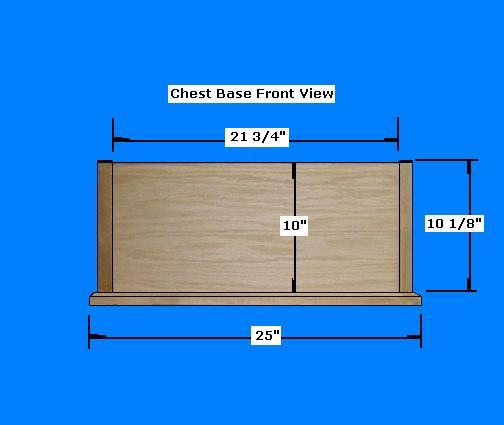
- Select the 1" x 1" stock; crosscut to the depth of the chest; (add 1/8" for the edging material) 10 1/8"
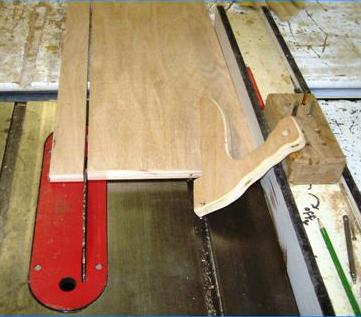
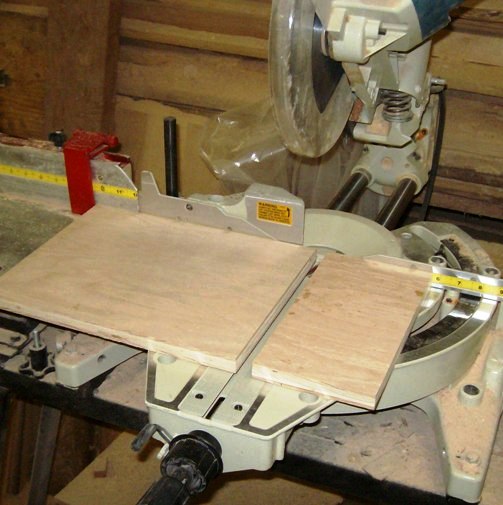
- Select the 3/4" Plywood Panel; rip two pieces @ 10"; crosscut the Front, Back and two Side pieces per the layout diagram above
- Select the 3/4" x 16" x 6' Solid Oak Material; cut one piece for the Bottom Panel to 25" x 15 1/2"
- Select the 3/4" Solid Oak Material; cut two pieces @ 1 1/2" x 22 3/16" for the Front and Back of the Lid pieces
- Select the 3/4" Solid Oak Material; cut two pieces @ 14" x 6" for the Right and Left Lid Side Panels
- Select the 3/4" Solid Oak Material; cut four pieces @ 1/8" thick x 3/4"; cut the length to glue to the plywood top edges
- Select the 1/2" x 2' x 4' Oak Plywood Panel; cut 16 pieces @ 1" x 23" at a 3 degree angle on both edges for the Rounded Top Lid Slats
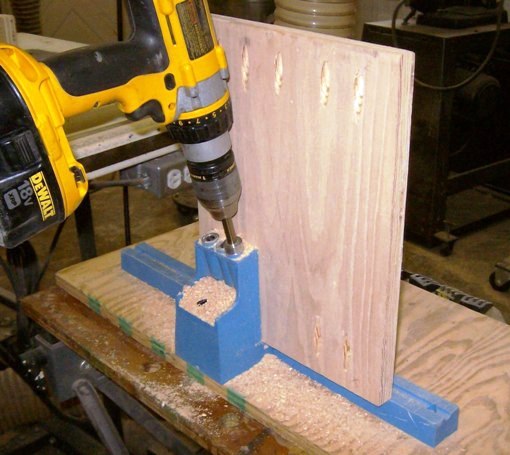
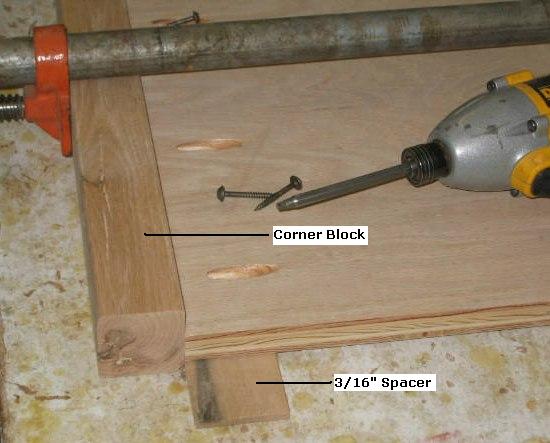
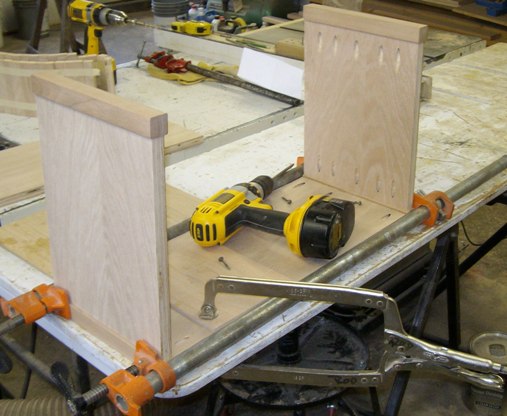
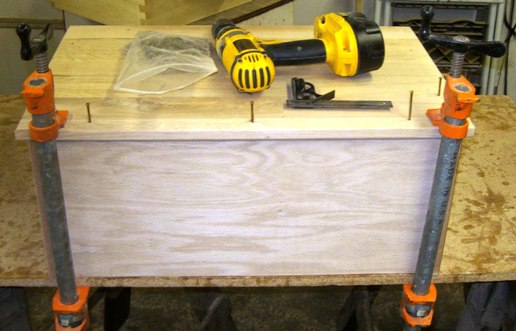
Step 2: Assemble the Chest Box Pieces - Select the Front, Back, Sides, and the Bottom Panels
- Use the Kreg Pocket Hole Jig System
 ; drill the holes along the interior edges of the Front, Back and two Side Panels, as shown above ; drill the holes along the interior edges of the Front, Back and two Side Panels, as shown above
- Select the two Side Panels; attach the Sides to the Posts (two Posts per side) with Kreg screws (Note: allign the bottom edges; leave a 1/8" Post extention at the top edge); use a 3/16" piece of material as a spacer on the exterior side
- Select Front, Back, and two Side Assemblies; using the Kreg screws, attach the Front and Back Panels to the Corner Posts; allign the bottom edges and use the spacer as before
- Select the 3/4" Bottom Panel; with glue and 1 1/2" screws, center and attach the Bottom Panel from the bottom
- Select the 1/8" x 3/4" Oak Strips; glue the Strips to the top edges of the Treasure Chest Base Box
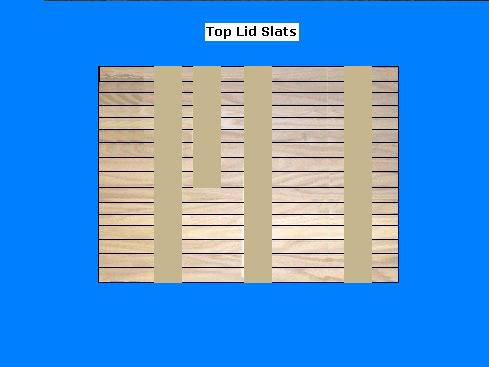
Step 3: Build the Lid - Select the Lid Pieces: Front, Back, Sides, and the 14 Top Slats
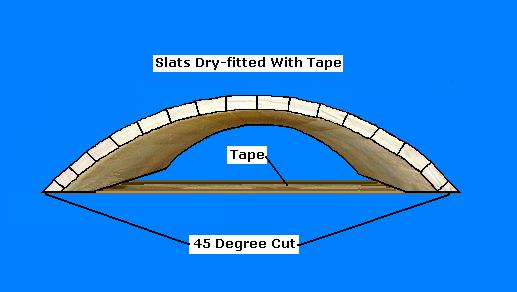
- Select the Slats; lay them on a flat surface with the Top Sides facing up (the wider edges touching); using at least three strips of masking tape, press the tape hard against the Slats, as shown above
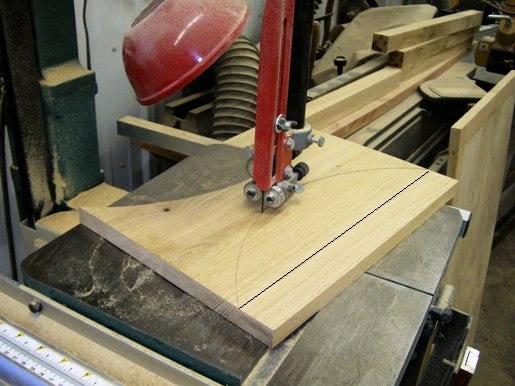
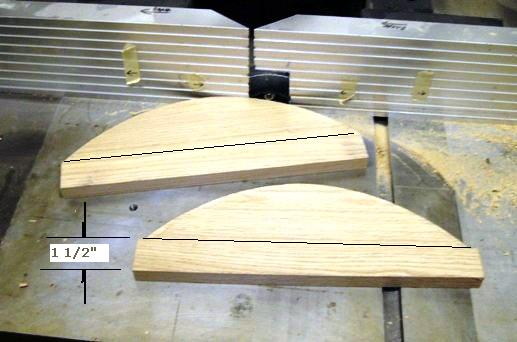
- Select the 1 1/2" and the 6" oak material pieces; use the 1 1/2" piece as a guide and scribe a line along the bottom edge of the two, 6" pieces
- Select the taped Slats; bend them to form a radius with the top edge of the slats intersecting with the 1 1/2" line on the 6" material; scribe a line along the radius
- Using a band saw, cut out the rounded end Lid piece; sand it round; use this piece to replicate the second piece, as shown above
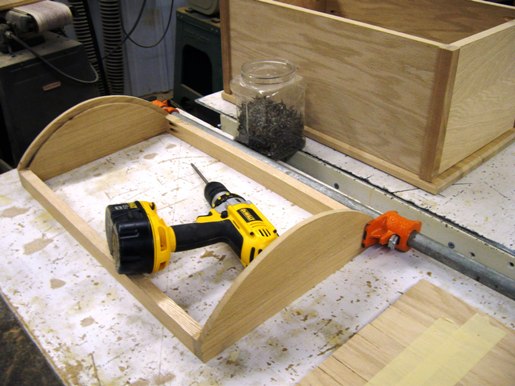
- Using a router with a 1/2" dado bit, set it to cut at 3/8"; router along the radius of the two end pieces on the interior edges (NOTE: Do not cut below the 1 1/2" mark); use a chisel or razor knife to square off edges
- Select the 1 1/2" material for the Lid Front and Back; Kreg them into the two side, as shown above
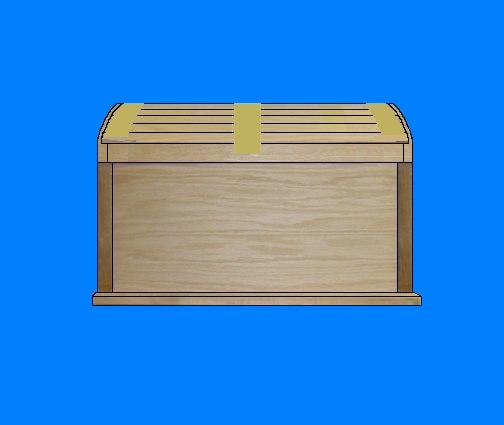
- Select the taped Slats; dry fit them into the dadoed Lid; the Front Slat and the Rear Slat will require a 45 degree custom cut to size, as shown above
- Glue all the Slats into place; retape to allow them to set over night
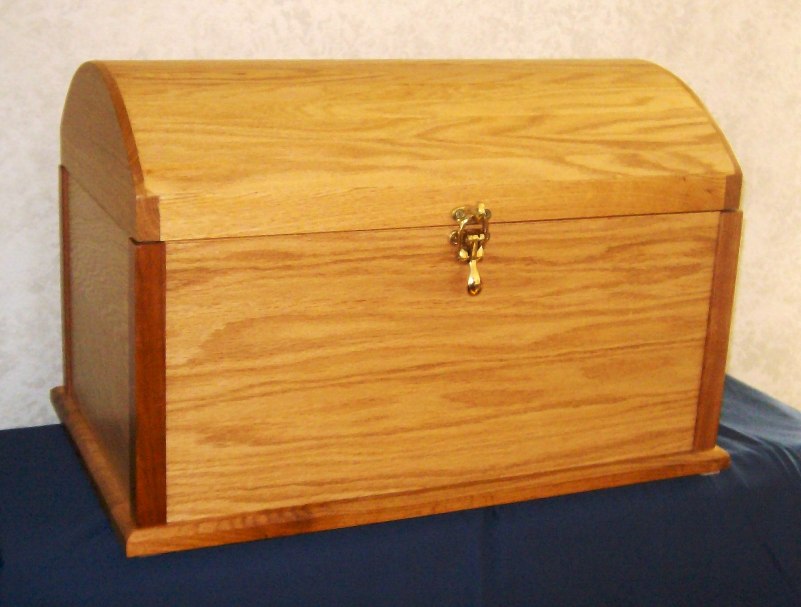
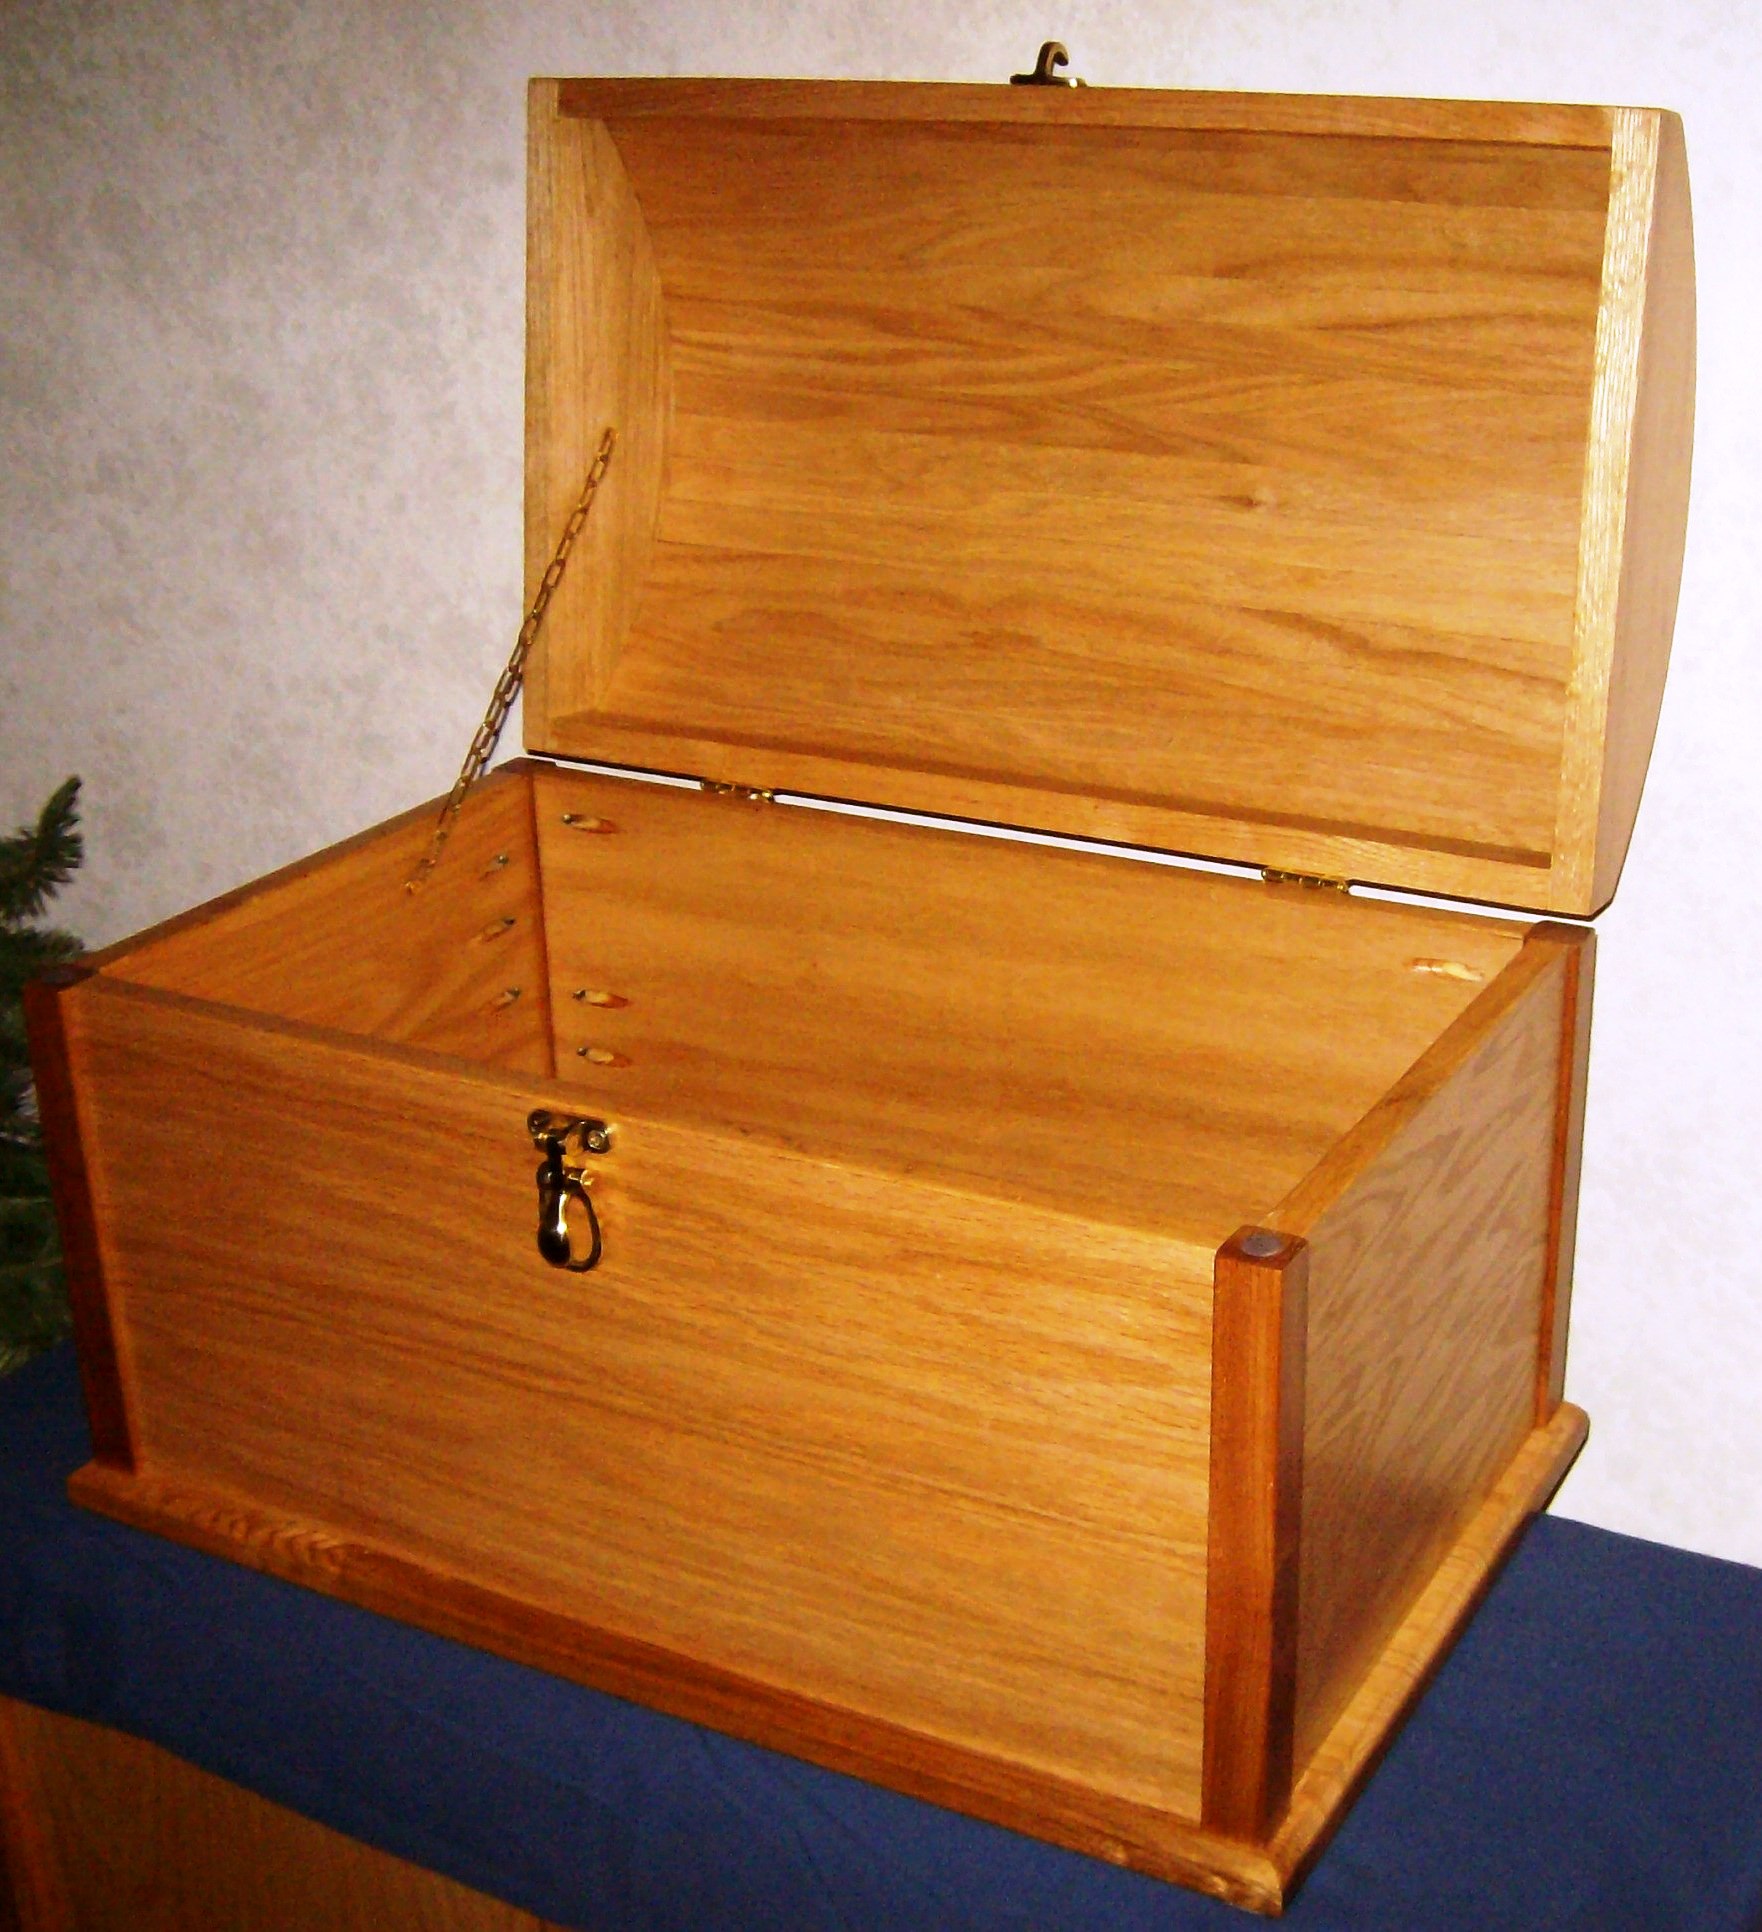
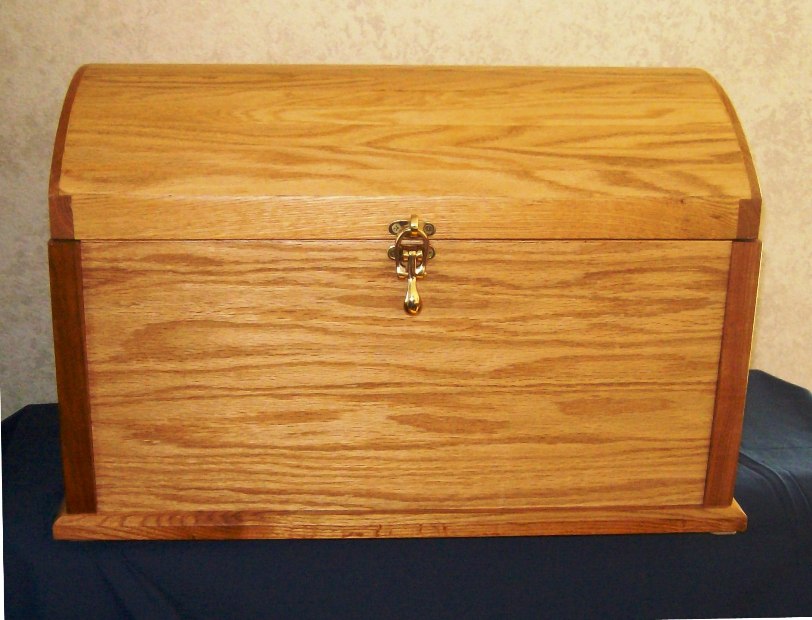
Step 4: Finish the Treasure Chest - Select the Top Lid and the Chest Base
- Fill all holes and cracks with filler; sand all surfaces
- Apply poly, hinges, chain or lid support, and hasp


Copyright 2013 - Wayne Murray
If you are a member of a non-profit organization and have any requests or suggestions regarding projects for your group, you can send Rod an email at: rodneyg@cheqnet.net
|


