
Materials
- Two Pieces, 1" rough hardwood: 6" x 38"
- Four 1/4" hole plugs
- Four Wood Screws @ 1 5/8" and Five Kreg Screws @ 1 5/8"
- Four Felt Pads
- Sandpaper
- Wood Filler
- Satin Finish Polyurethane
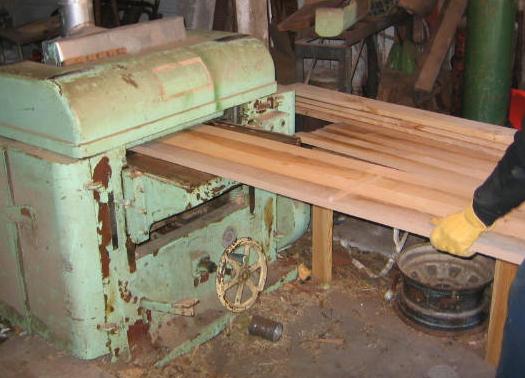
Step 1: Make the Board Material - Select the two, one inch hardwood boards
- Rip the rough edge of each board
- Adjust the fence and rip the other rough edge of each
- Both boards have two straight edges
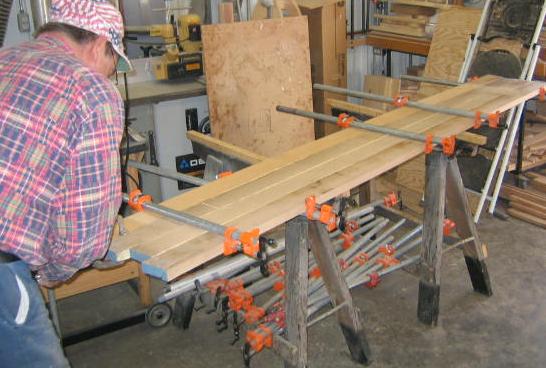
- Glue and clamp the two boards together, alternating the woodgrain
- After the glue has dried overnight, run it through the planer to 3/4"
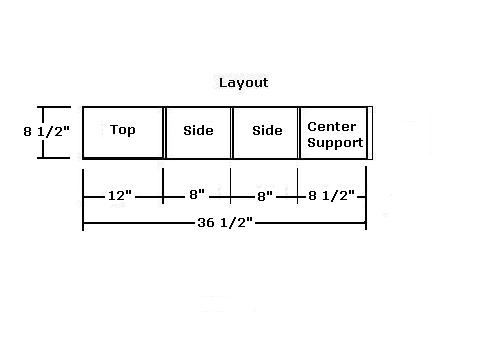
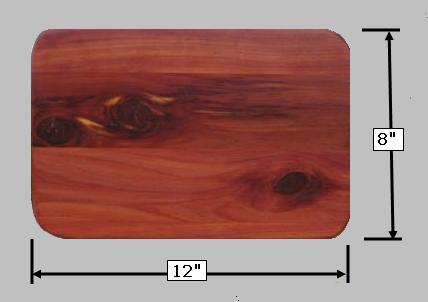
Step 2: Cut the Pieces to Size - Select the 11" (Approximate width) x 38"
- Rip the board to 8 1/2" (remove material from each edge)
- Crosscut four pieces as shown above
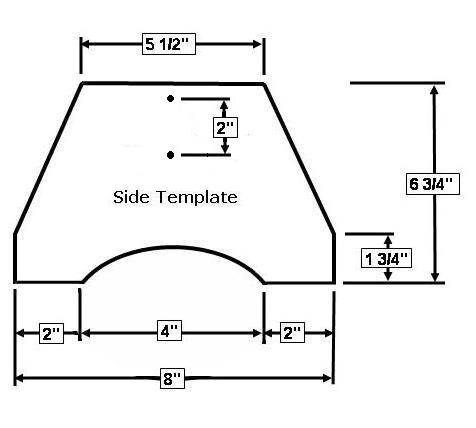
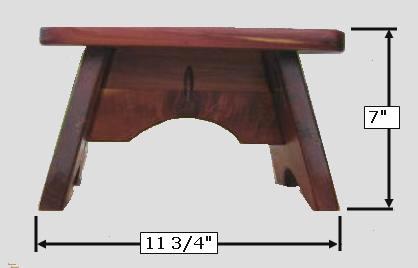
Step 3: Make A Side Template - Select a piece of heavy cardboard or thin wood and make a template using the dimensions as shown above.
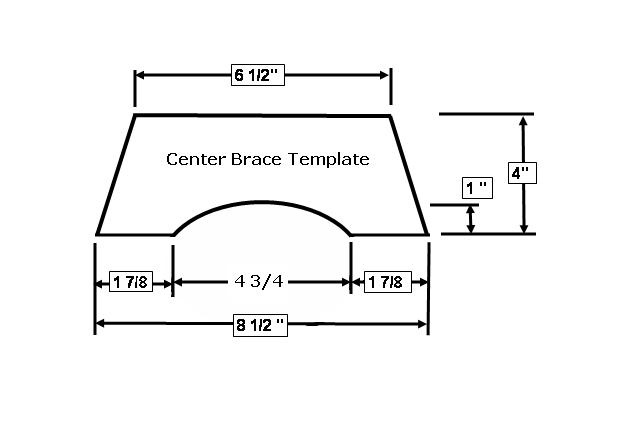
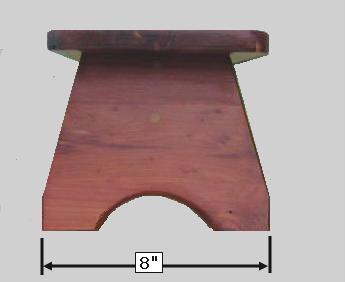
Step 4: Make A Center Support Template - Select a piece of heavy cardboard or thin wood and make a template using the dimensions as shown above.
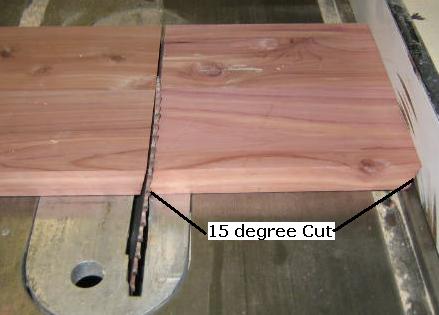
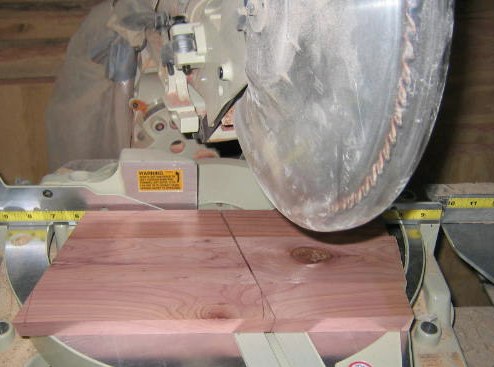
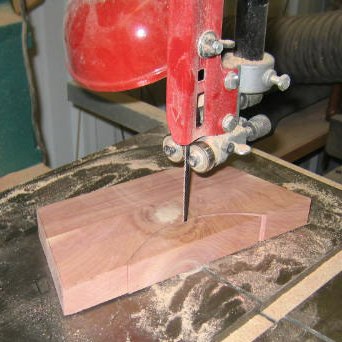
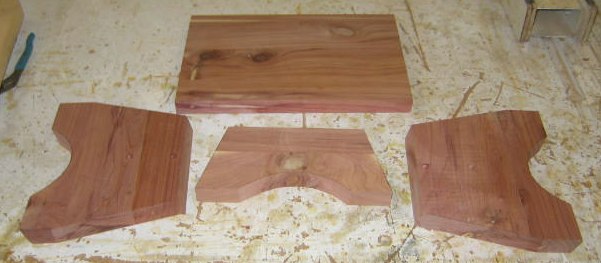
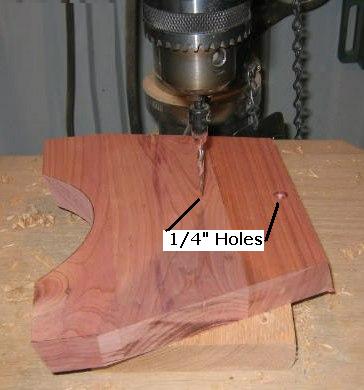
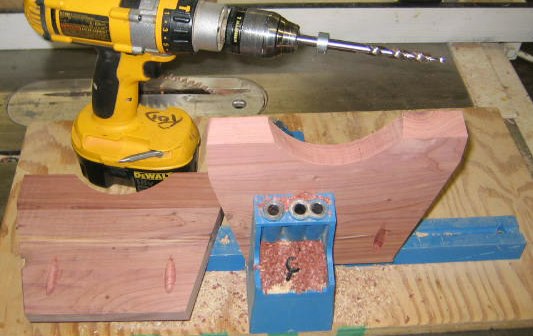
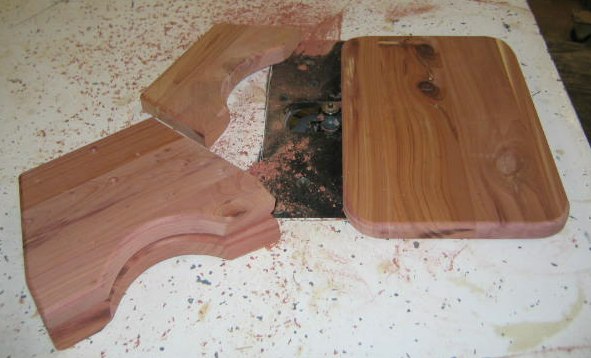
Step 5: Cut the Sides and Center Support - Select the Side Template and two, Side pieces; Select the Center Support Template and the Support piece.
- Using the templates, mark, and cut the three pieces as shown above
- Using the drill press, drill four, 1/8" holes with a 1/4"countersunk holes into the exterior side of the two, Side pieces, as shown above
- Using a Kreg Pocket Hole Jig, drill the five pocket holes as shown above; two holes on each side, and one in the center support piece
- Router all edges with a round over router bit (Note: Do not router the top and two side edges of the Center Support piece
- Use a Finishing Sander to sand all pieces prior to assembly
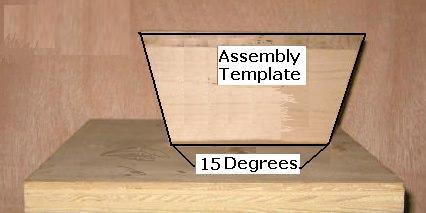
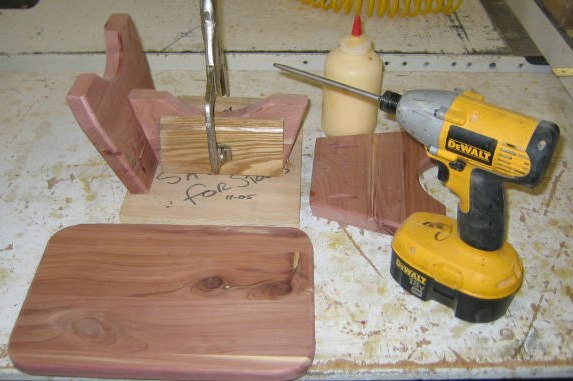
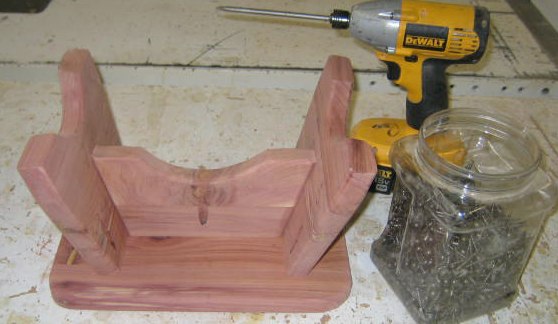
Step 6: Make an Assembly Jig - Select some 3/4" plywood and build a 15 degree Assembly Jig as shown above
- Using the jig, glue, and wood screws, assemble the two sides to the Center Support piece, as shown above (Note: Screw home three screws; set the assembly on a flat surface to ensure all legs are set flat before screwing in the last screw)
- Select four wood plugs and glue them in the holes; use a belt sander to smooth down the plugs
- Select the Top and center the Assembled Base; use the Kreg screws to attach the assembly to the top, as shown above
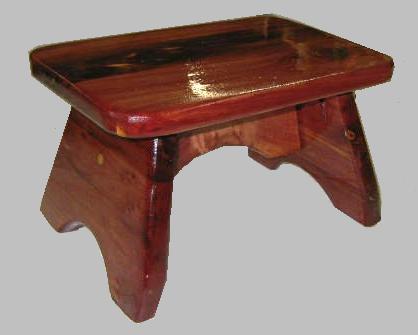
Step 7: Finish the Stool - Select the stool and sand it smooth
- Use a quality polyurethane and apply at least three coats


Copyright 2013 - Wayne Murray
If you are a member of a non-profit organization and have any requests or suggestions regarding projects for your group, you can send Rod an email at: rodneyg@cheqnet.net
|


