How To Build Wooden Tool Boxes

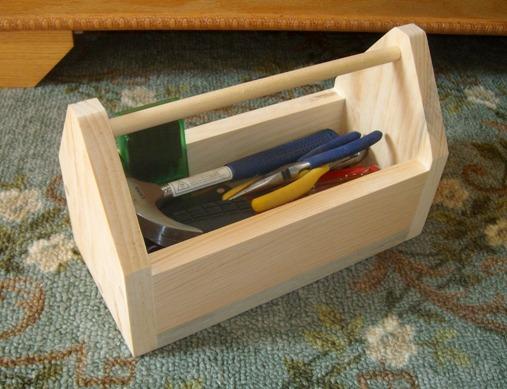
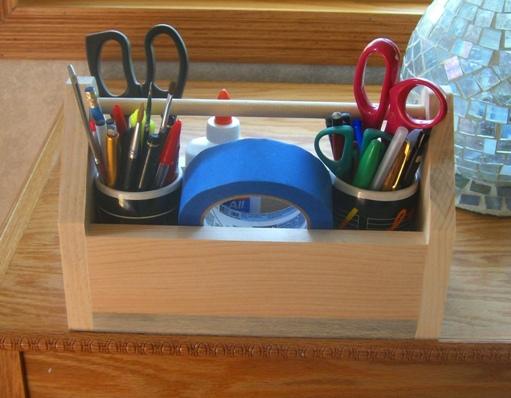
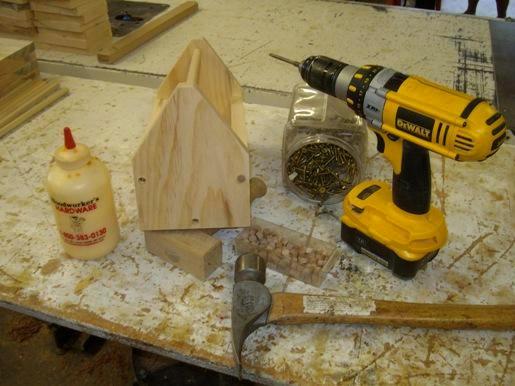
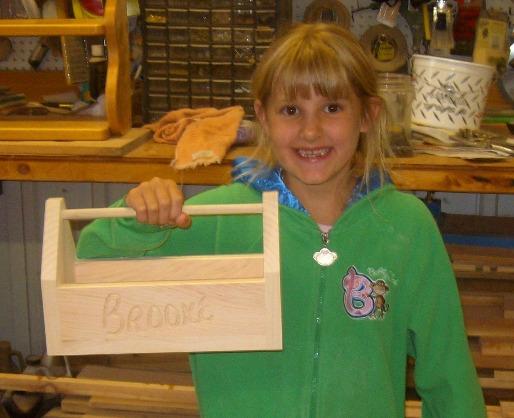
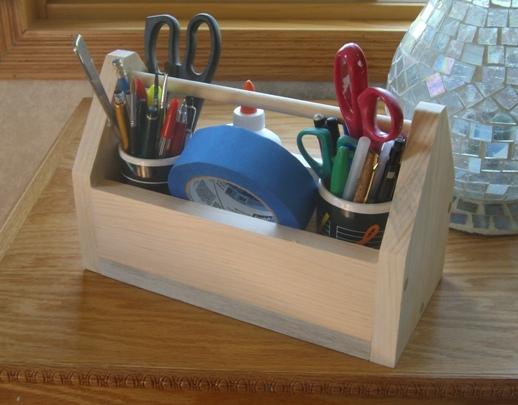
With the right plans, materials, and equipment, you can build this simple Garden Tool Box Caddy, as shown here.

Woodcraft.com - Helping You Make Wood Work

Materials
  • 1/2" x 10.25" Dowel Rod: One piece
  • 1" x 6" x 35" Oak or other desired Wood: One piece
  • 1 1/4" Wood Screws: 8 pieces
  • 1/4" Plugs: 6 pieces
  • Sandpaper
  • Wood Filler and Glue
  • Satin Finish Polyurethane Poly

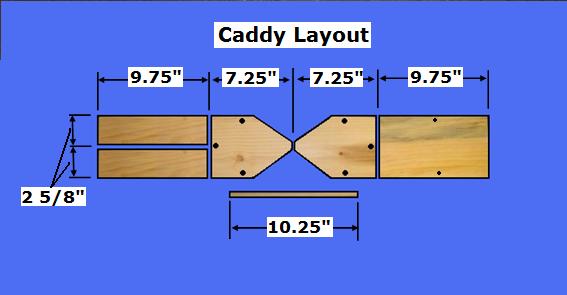
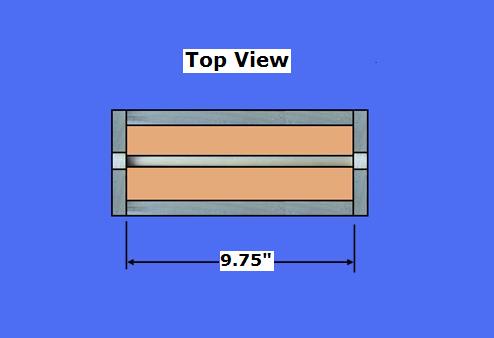
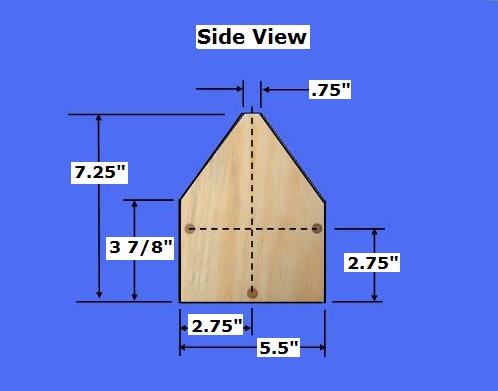
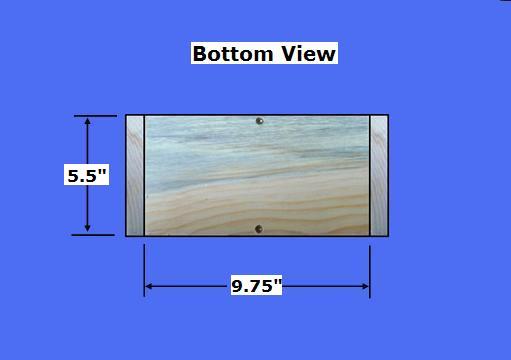
Step 1: Cut the Caddy Pieces - Determine the desired size of your Caddy or use the dimensions provided

  • Select the 1 x 6 material; cut the pieces per the dimensions above
  • Select the Side and Bottom pieces; Drill three, 1/4" holes (1/4" deep) on each exterior side and two holes in the Bottom Panel per the dimensions above
  • Select the two, Side pieces; Drill one, 1/2" hole (1/4" deep) on each interior surface, centered at the top of each side to receive the Dowel Rod
  • Select all pieces; Sand all pieces

Step 2: Assemble the Caddy Pieces - Select and dry-fit all pieces

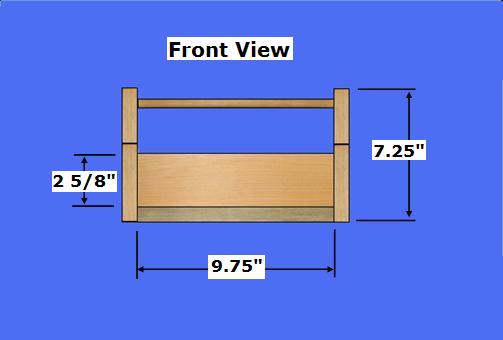
  • Attach one Side to the Front, Back, and Bottom Panels with glue and three wood screws, as shown above
  • Attach the Bottom Panel; Connect the Bottom Panel to the Front and Back Panels with the wood screws
  • Repeat the process for the other side after placing the Dowel Rod in place
  • Insert all plugs with glue and plugs

Step 3: Finish the Caddy - Select the finishing materials

  • Fill all holes and cracks with filler; sand all surfaces
  • Apply poly
  • Enjoy your Caddy

Copyright 2013 - Wayne Murray

If you are a member of a non-profit organization and have any requests or suggestions regarding projects for your group, you can send Rod an email at: rodneyg@cheqnet.net