How To Make Saddle Racks
With the right plans, materials, and equipment, you can build a Saddle Rack, as shown here.
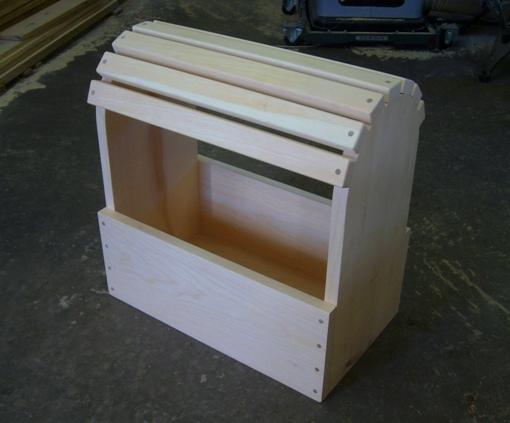
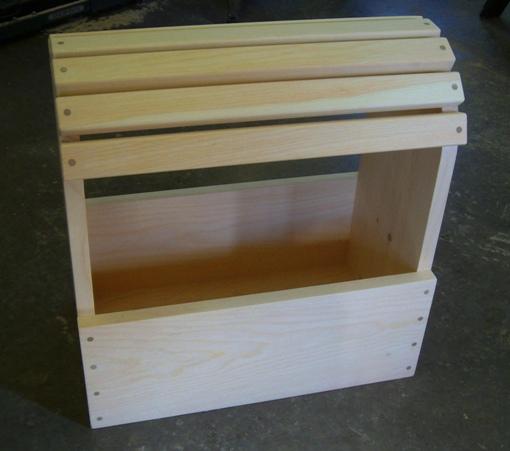
Materials:
- 1 1/8" (Over-sized Stock) x 12" x 12' Pine (or desired wood): One Piece
- 3/4" x 24" x 24" Oak Plywood: One piece for the Bottom Panel
- Kreg Screws; 1/4 lb.

- 1 1/2" Wood Screws; 1/4 lb.
- 1/4" Plugs; 30
- Sandpaper
- Wood Filler and Glue
- Satin Finish Polyurethane Poly

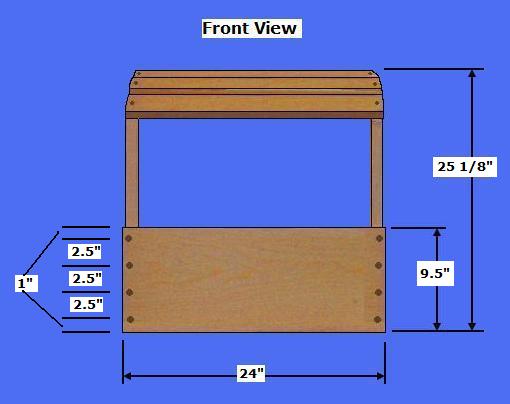
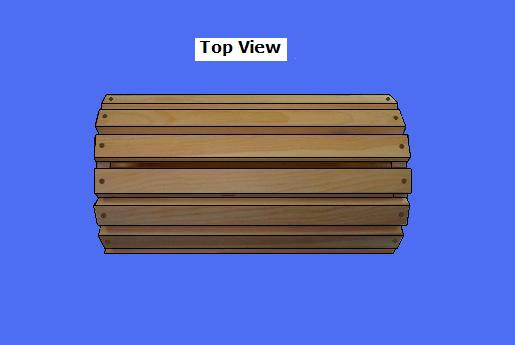
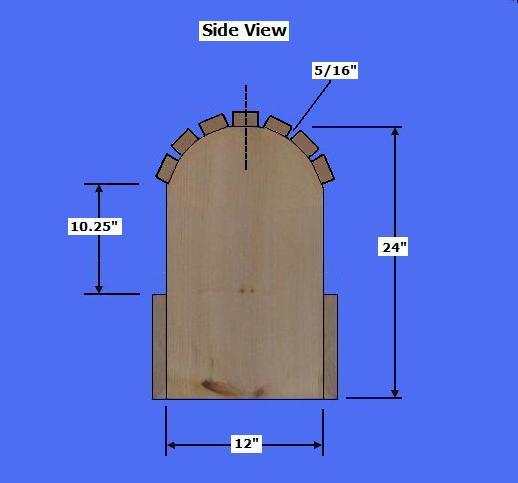
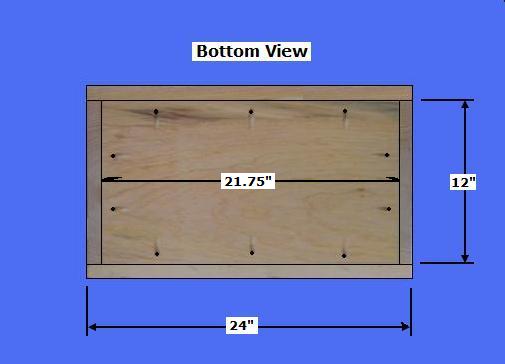
Step 1: Cut the Rack Pieces - Determine the desired size of the Saddle Rack or use the dimensions here
- Select the 1 1/8" material; Crosscut six pieces @ 24" (23 7/8") for the two Sides, Front/Back Panels, and the Top Slats
- Select two Panels: Rip them @ 2" for the seven Top Slats
- Select two Panels: Rip them @ 9.5" for the Front/Back Panels
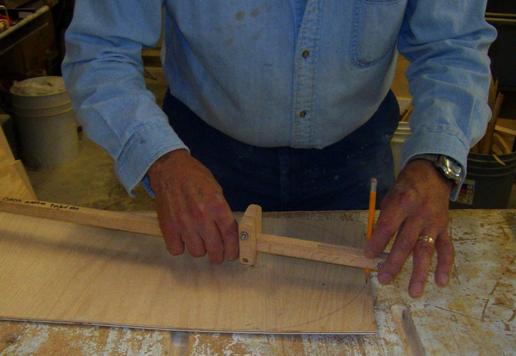
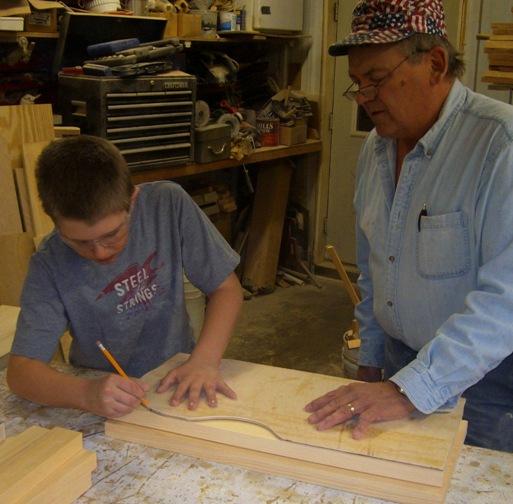
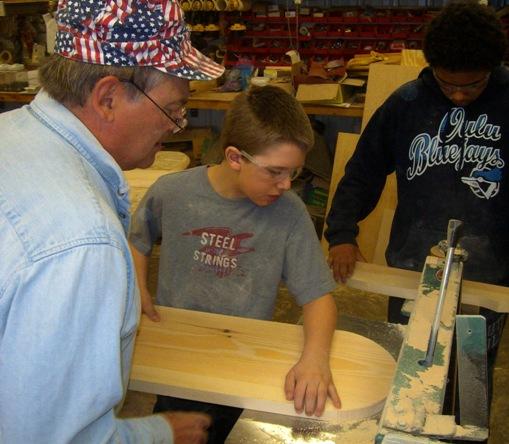
Step 2: Cut and Assemble the Main Pieces - Select Sides and the Front/Back Panels
- Select the two Side Panels; Using the dimensions above, make a template for the rounded top edge; using a band saw cut the rounded top edges; sand the rounded surfaces of both Sides
- Select the Front/Back Panels; Using the dimensions above, drill four, 1/8" holes with a 1/4" Counter Sink, 1/2" in from each edge of the two Panels
- Select the Plywood; Cut the Bottom Panel per the dimensions listed above
- Use the Kreg Pocket Hole Jig System
 ; drill the holes along the edges of the Bottom Panel, as shown above
- Select the Bottom Panel and two, Side Panels; Using Kreg Screws, attach the Bottom to the Side Panels
- Select the Front/Back Panels; Using Kreg Screws, attach the Bottom Panel to the Front/Back Panels
- Select the Main Assembly; Using 1 1/2" Screws, attach the Front/Back Panels to the Side Panels
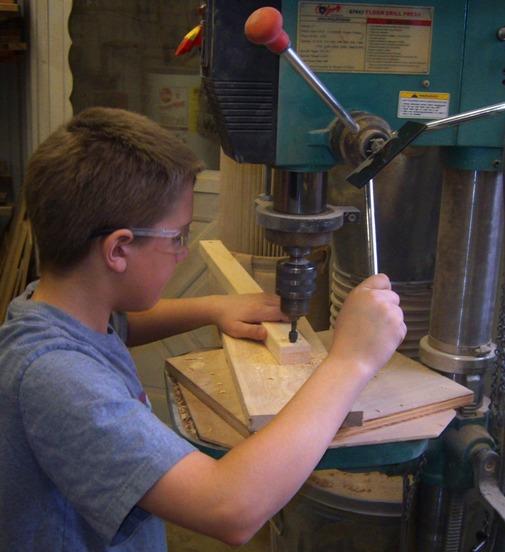
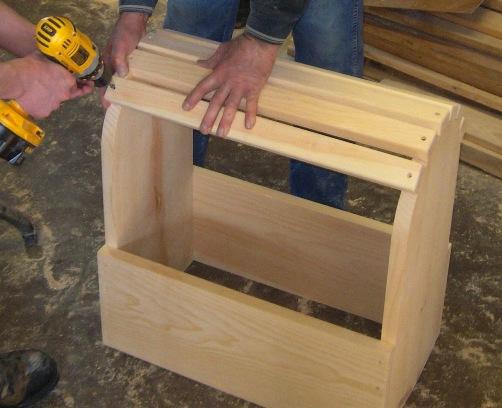
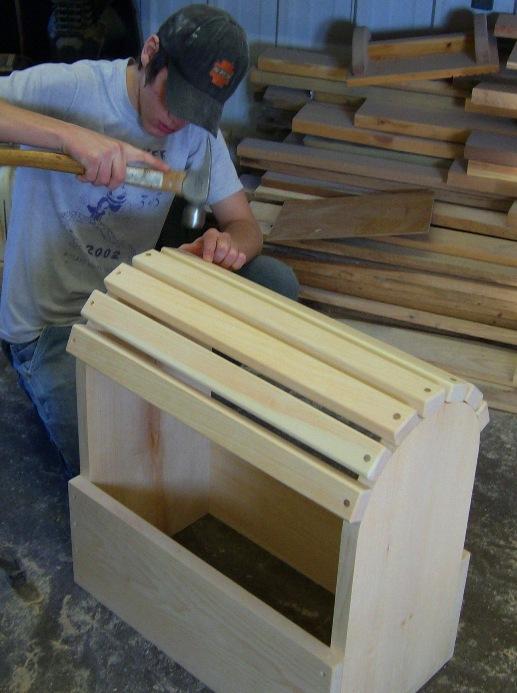
Step 3: Complete and Attach the Top Slats - Select the seven, 2" Slats
- Select the Slats; Mark the center, 1/2" in from each end and drill a 1/8" hole with a 1/4" counter sink
- Select the seven Slats with the holes; Sand all surfaces, but NOT the Edge Facings
- Select one Slat and the Rack Assembly; Mark the "center" of the "rounded top edges" of each side, and the "center" of the Slat; Line up the "center points" of each, and connect the Slat to the Sides with 1 1/2" screws
- Select the remaining six, Slats; Using a 5/16" spacer at each end of the initial (top, center) Slat, place and attach the remaining Slats working down from the first Slat, as shown above
- Select the Plugs; Using a dab of glue and a hammer, insert the Plugs so they are "flush" with the surface of each Slat; Also, insert Plugs in the holes of the Front/Back Panels

Step 4: Finish the Saddle Rack - Select the Finishing Materials
- Use Wood Filler for all holes
- Complete all sanding
- Apply a minimum of three coats of poly


Copyright 2013 - Wayne Murray
If you are a member of a non-profit organization and have any requests or suggestions regarding projects for your group, you can send Rod an email at: rodneyg@cheqnet.net


