How To Make A Wood Flower Planter Box
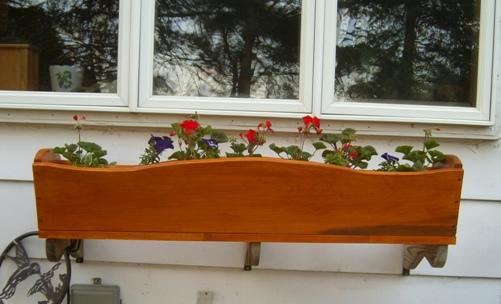
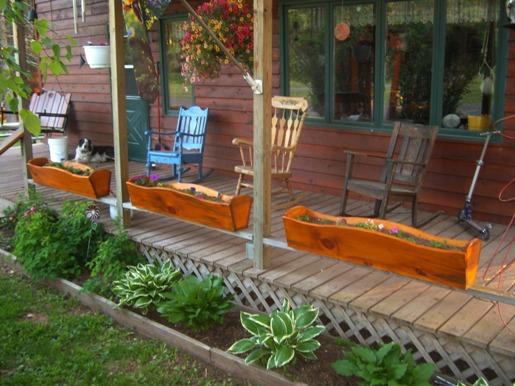
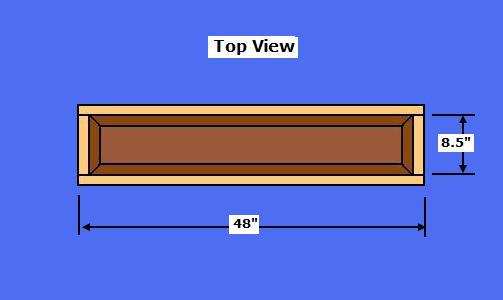
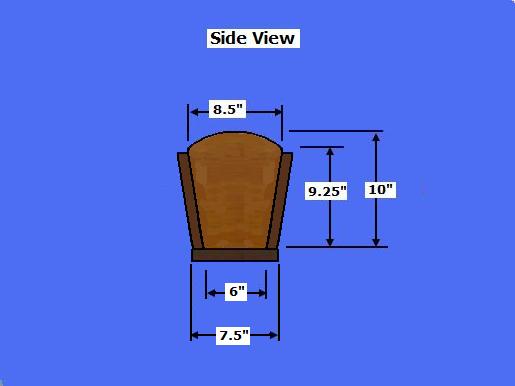
With the right plans, materials, and equipment, you can build this Simple Flower Planter Box, as shown here.
Materials
- 1" x 10" x 10' Material of Choice (Cedar Recommended): One Piece
- 1" x 8" x 48" Material of Choice (Cedar Recommended): One Piece
- Flower Box Liner Material (Optional): 6 mil poly, copper, etc.
- 2" Wood Screws; 1/4 lb.
- Sandpaper
- Wood Filler and Glue
- Exterior Polyurethane Poly
Step 1: Cut the Pieces - Determine the desired size of the Flower Box
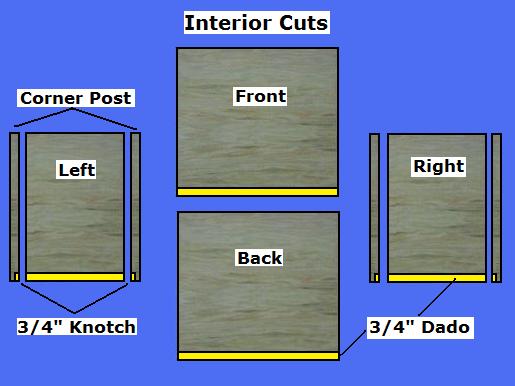
- Select the 1" x 10" x 10' Material: Crosscut the Front, Back, and Side Panels per the dimensions above
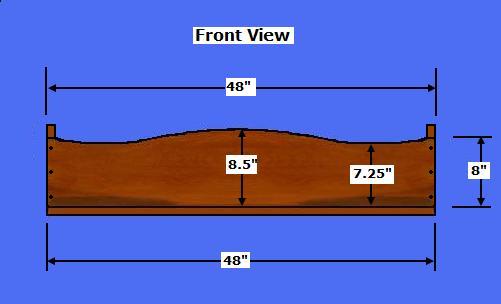
- Select the Front and Back Panel: Using a Band Saw, cut the Panels to the dimensions above; countersink three holes at each right and left edge of each Panel
- Select the Side Panels: Using a Band Saw, cut the Panels to the design dimensions above
- Select 1" x 8" x 48" Material: Counter sink holes on the Front, Back, and Side edges
- Sand all Pieces
Step 2: Assemble the Pieces - Select the Flower Box Pieces
- Select the Front, Back, and Side Pieces; Using 2" screws, connect the pieces, as shown above
- Select the Bottom Panel; Using 2" screws, connect the Bottom to the completed assembly
- Drill some 1/4" Drain Holes in the Bottom Panel for drainage
Step 3: Finish the Flower Box - Select the Finishing Materials
- Use Exterior Wood Filler for all holes
- Complete all finish sanding
- Apply a minimum of three coats of Exterior Poly
Copyright 2013 - Wayne Murray
If you are a member of a non-profit organization and have any requests or suggestions regarding projects for your group, you can send Rod an email at: rodneyg@cheqnet.net
|